Tutorials
Symbols and editing in place
Turn a drawing into a graphic symbol, place it twice, edit it in place and watch both copies change, then tint one and set how a graphic loops.
This page is also a lesson inside Phoenix: choose and start Symbols and editing in place, and Phoenix points at each control as you go. It takes about 7 minutes.
To follow along here instead, download the starting document, symbols-in-place.fla, and open it with .

In this tutorial you will turn this plain face into a symbol, put two of it on the stage, and give both a face by drawing on just one of them.
A symbol is drawn once and kept in the Library; each copy on the stage is an instance of it. Change the symbol and every instance changes.
1. Pick the Selection tool
Press V, or click the arrow at the top of the toolbox.
2. Select the face
Double-click the yellow face to select its fill and its outline together.
3. Convert it to a symbol
Press F8, or choose Modify > Convert to Symbol. Name it Face, set Type to Graphic, and click OK.
The face is now an instance, shown with a box around it when selected.
4. Place a second face
Face is now in the Library. Drag it from the Library onto the right side of the stage to place a second instance.
You can also press Ctrl+D (Edit > Duplicate
5. Edit in place
Double-click the face on the left. You are now inside the symbol: the rest of the stage is dimmed, and the edit bar above the stage reads Scene 1 › Face.
6. Pick the Oval tool
Press O, and choose a dark fill color with the fill swatch at the bottom of the toolbox.
7. Draw an eye
Draw a small oval for the left eye.
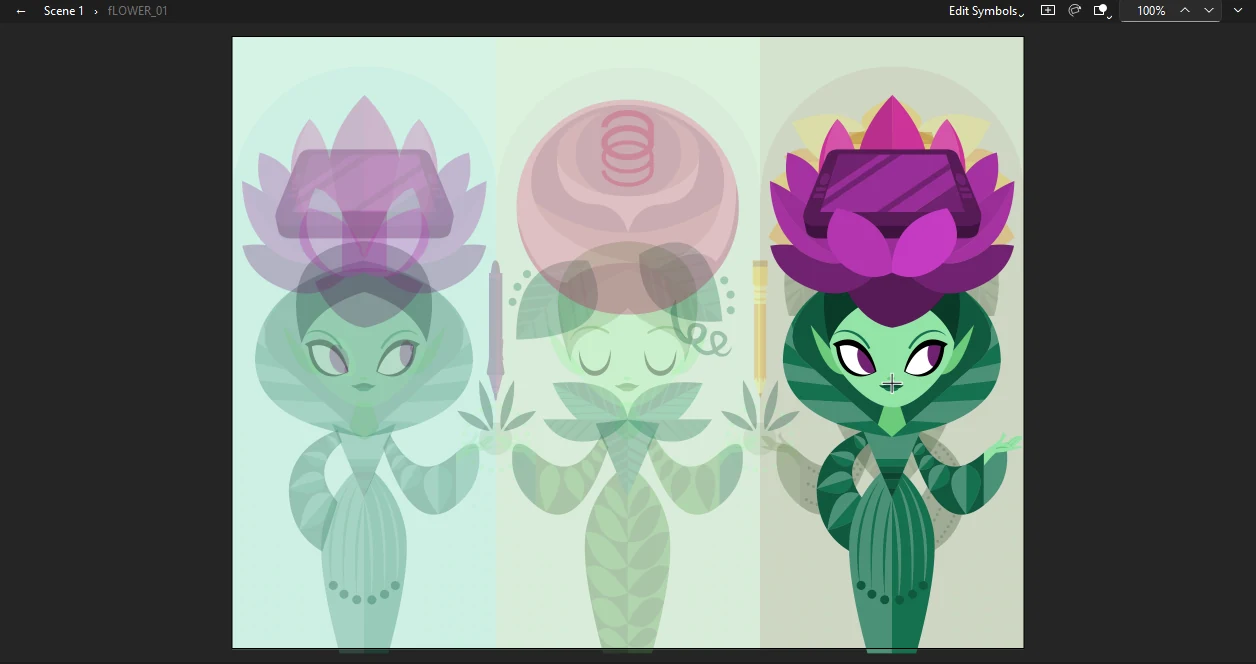
8. And another
Draw the right eye. Watch the other face as you let go.
9. Both faces changed
The face on the right has eyes too, though you never touched it. Both instances show the same symbol, so editing it once changes them all.
10. Back to the scene
Press V for the Selection tool, then double-click an empty part of the stage. You can also click Scene 1 at the left of the edit bar, or press Ctrl+E.
11. Select one face
Click the face on the right. A single click selects the whole instance; its settings show on the Properties panel's Object tab.
12. Tint it
Under Color Effect, open the Style list and choose Tint.
A color effect belongs to the instance, not the symbol, so only this face changes.
13. Choose the tint
Click the Tint swatch to pick the color, and drag the percentage beside it to set how strongly it is applied. Red, Green and Blue set the color by numbers.
14. Looping
A graphic symbol's timeline plays in step with the timeline it sits on. The Looping options say how: Loop repeats it, Play Once stops at its end, and Single Frame holds one frame, set by First. Reverse and ping-pong options play it backward.
Choose Single Frame now. With one frame in Face it looks the same, but on a symbol of mouth shapes or poses, this is how you pick the one to show.
What you did
You made a graphic symbol, placed it twice, edited it in place to change both instances, tinted one, and set how it loops.
Save with Ctrl+S if you want to keep it. There are more tutorials; if you have not animated a symbol yet, try Your first animation.